
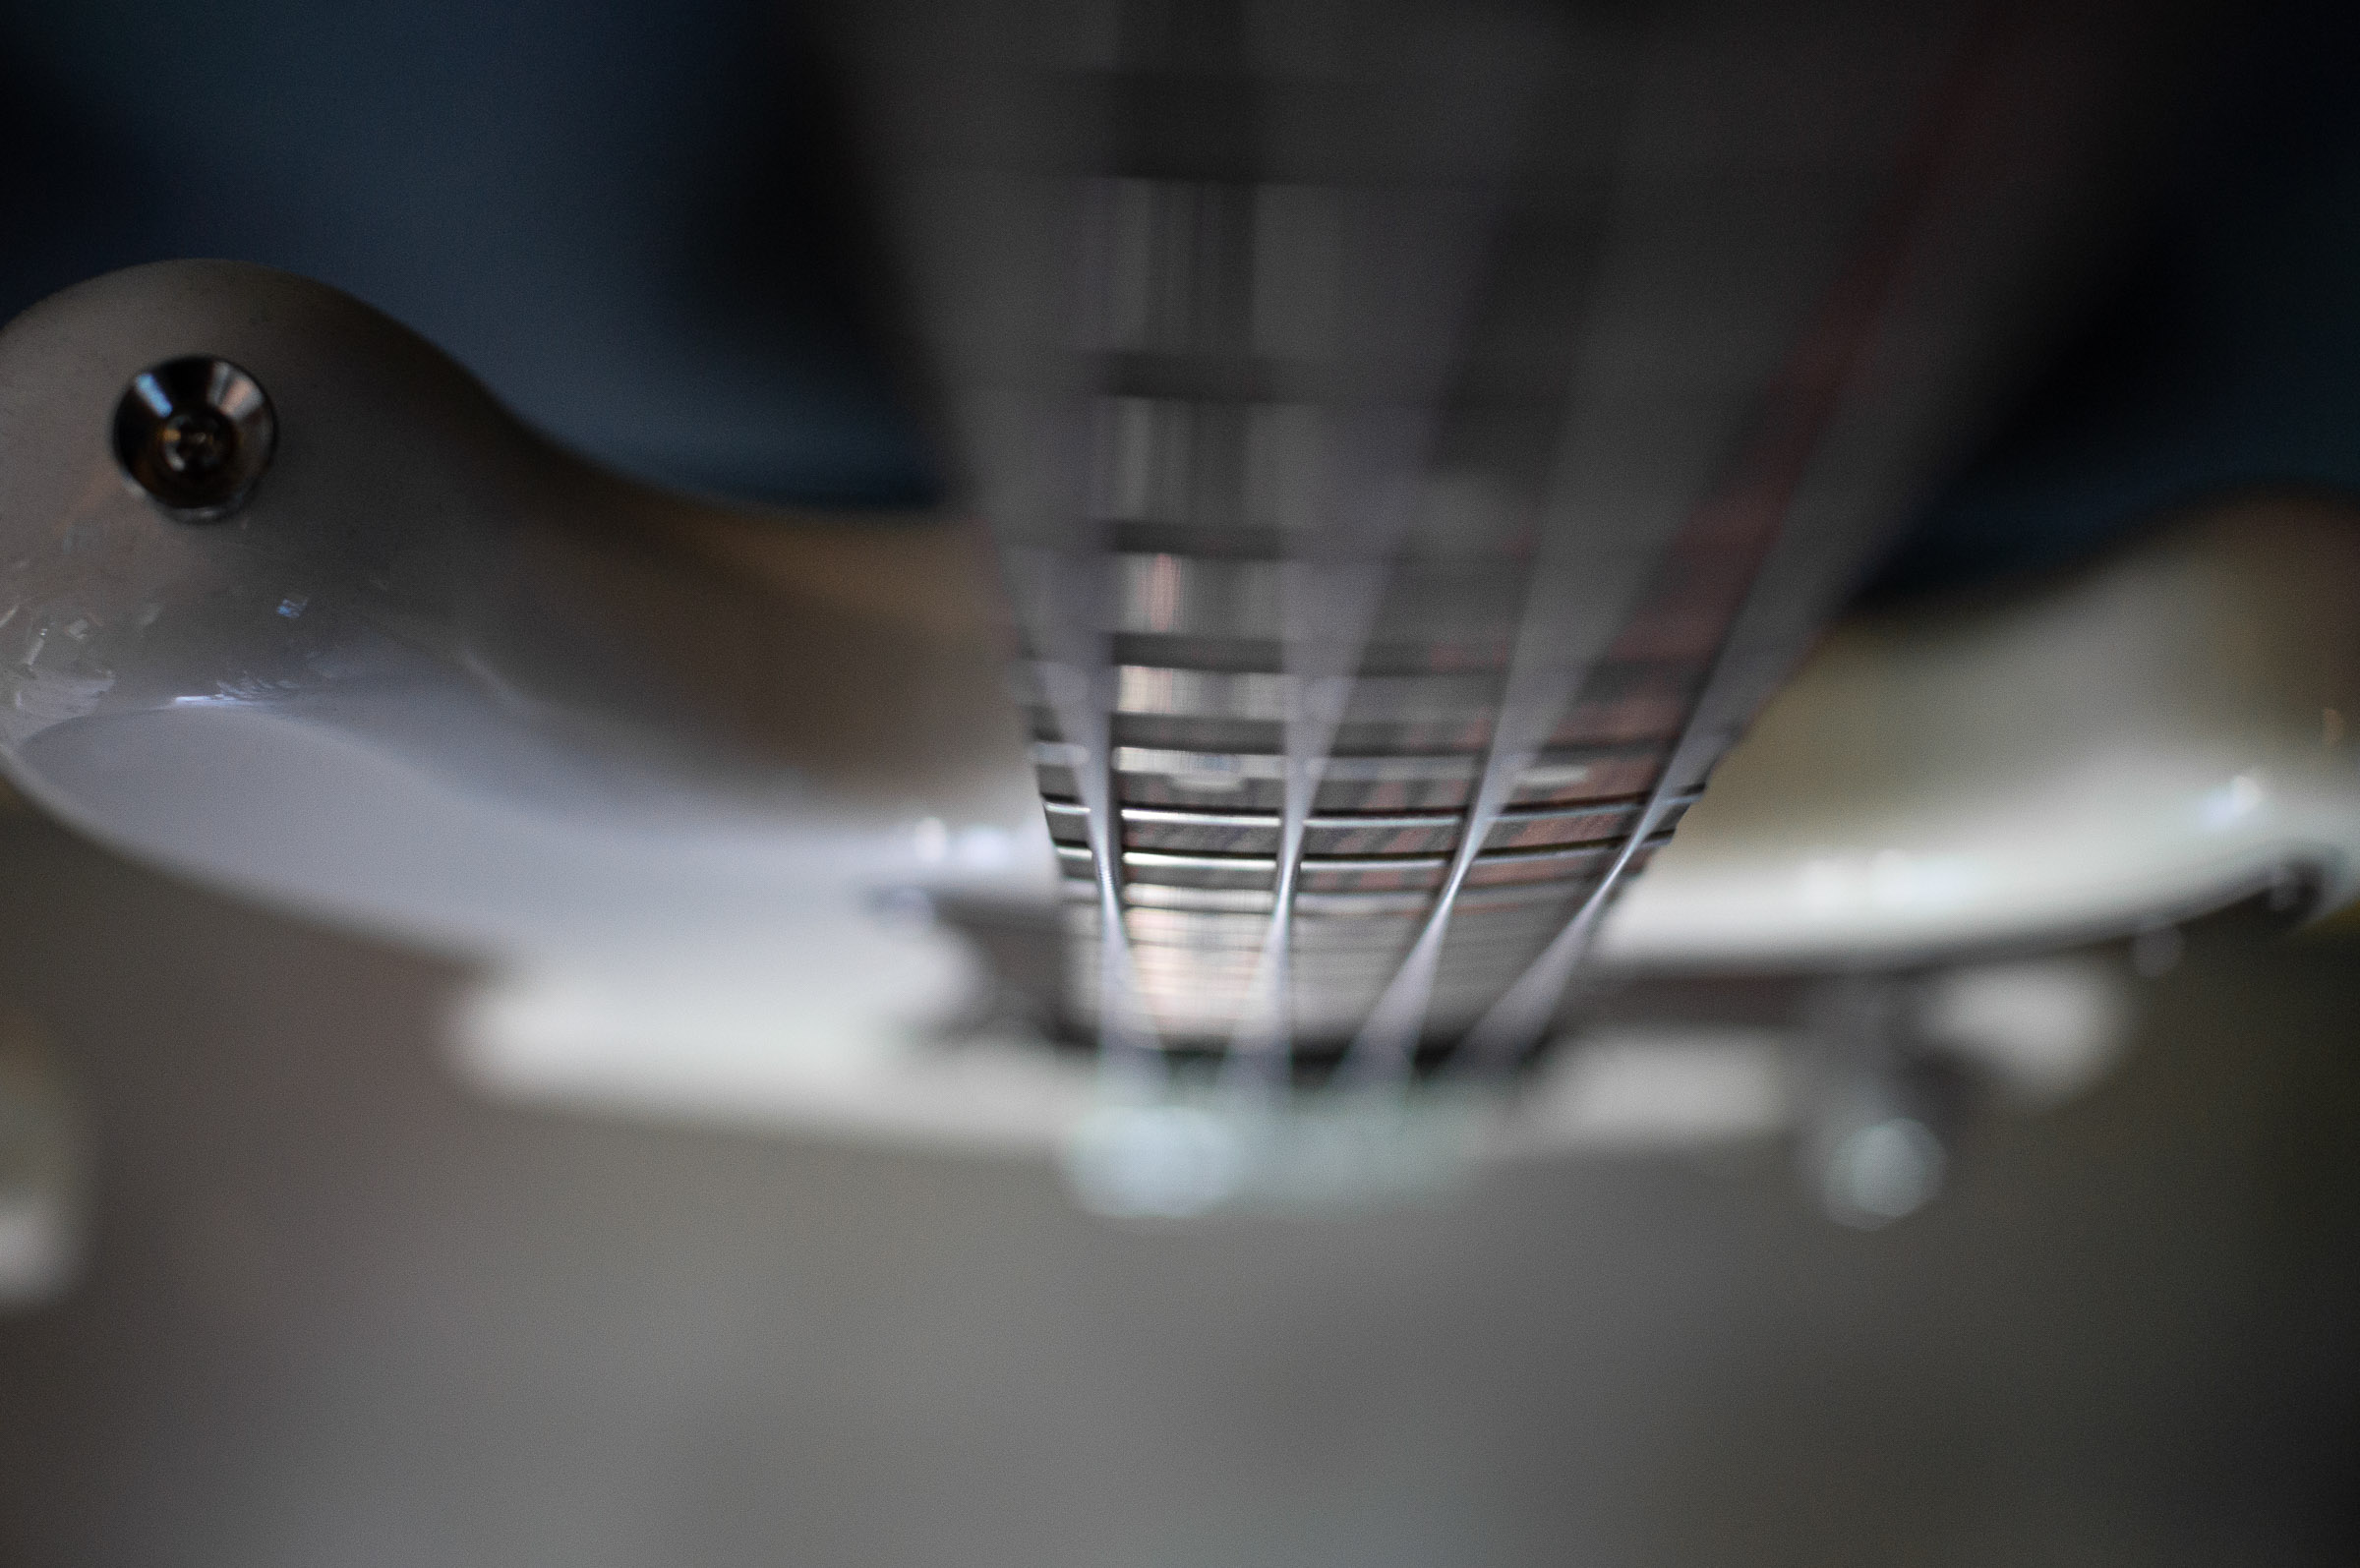
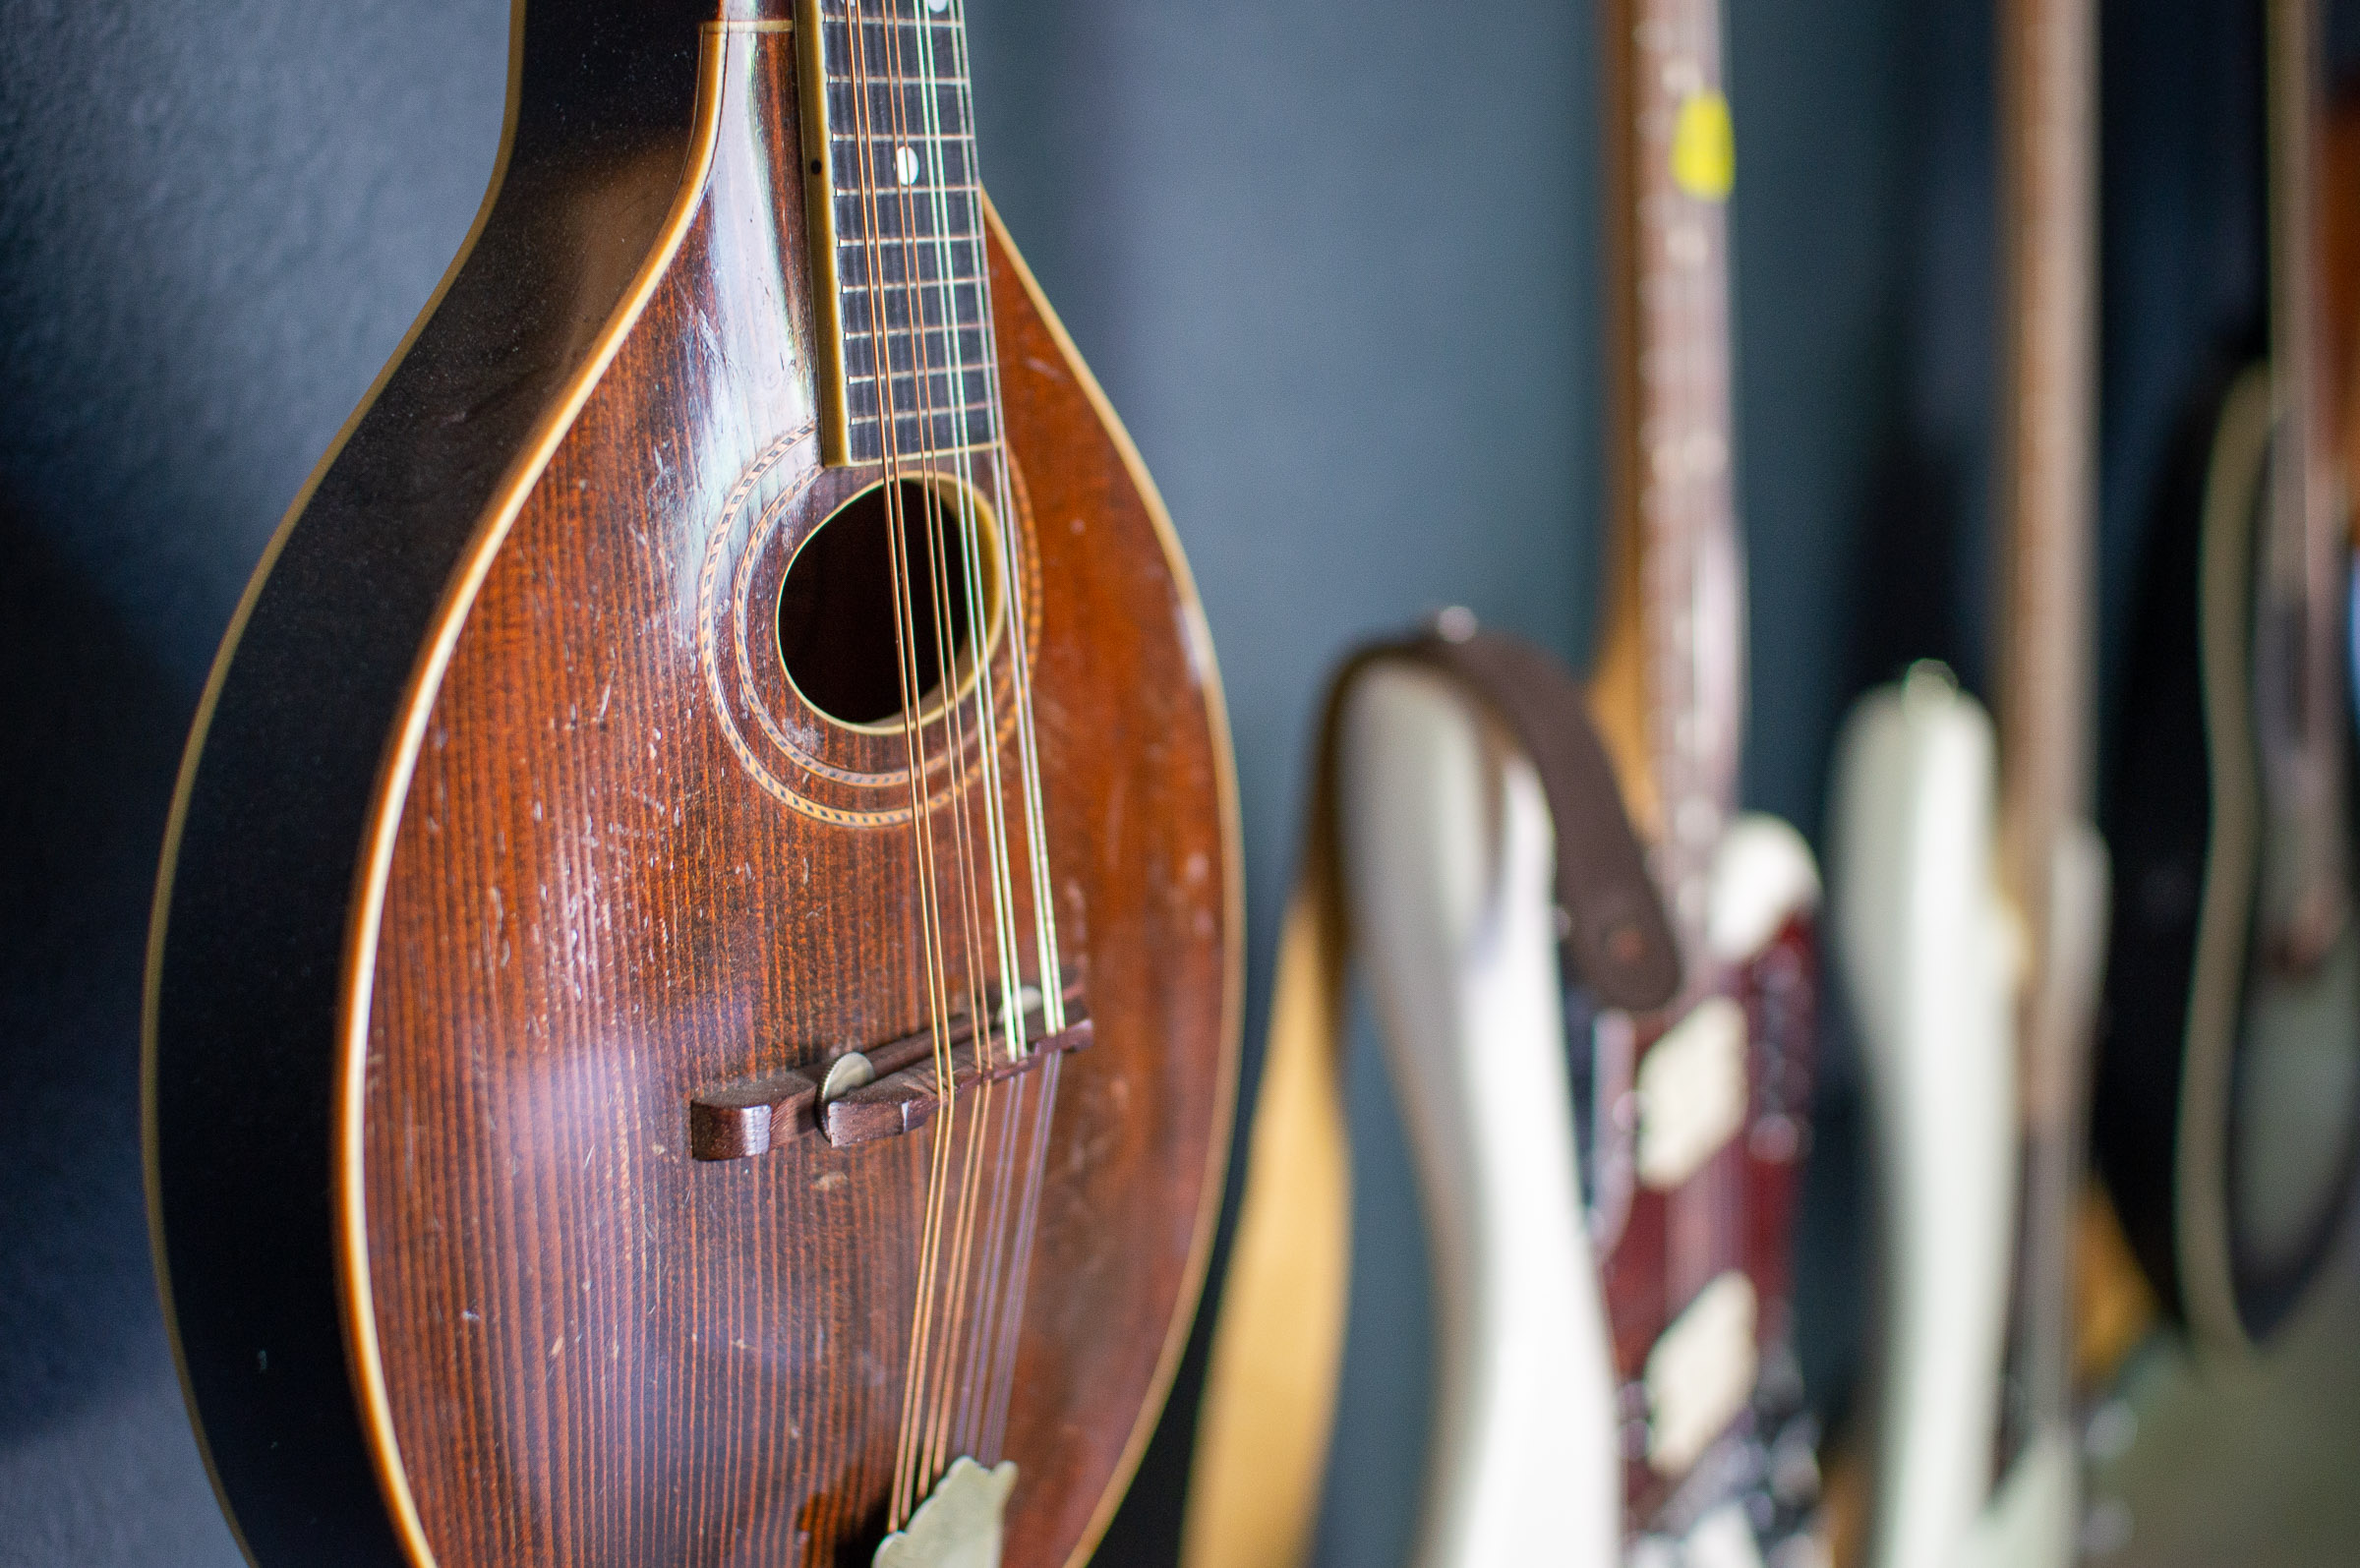
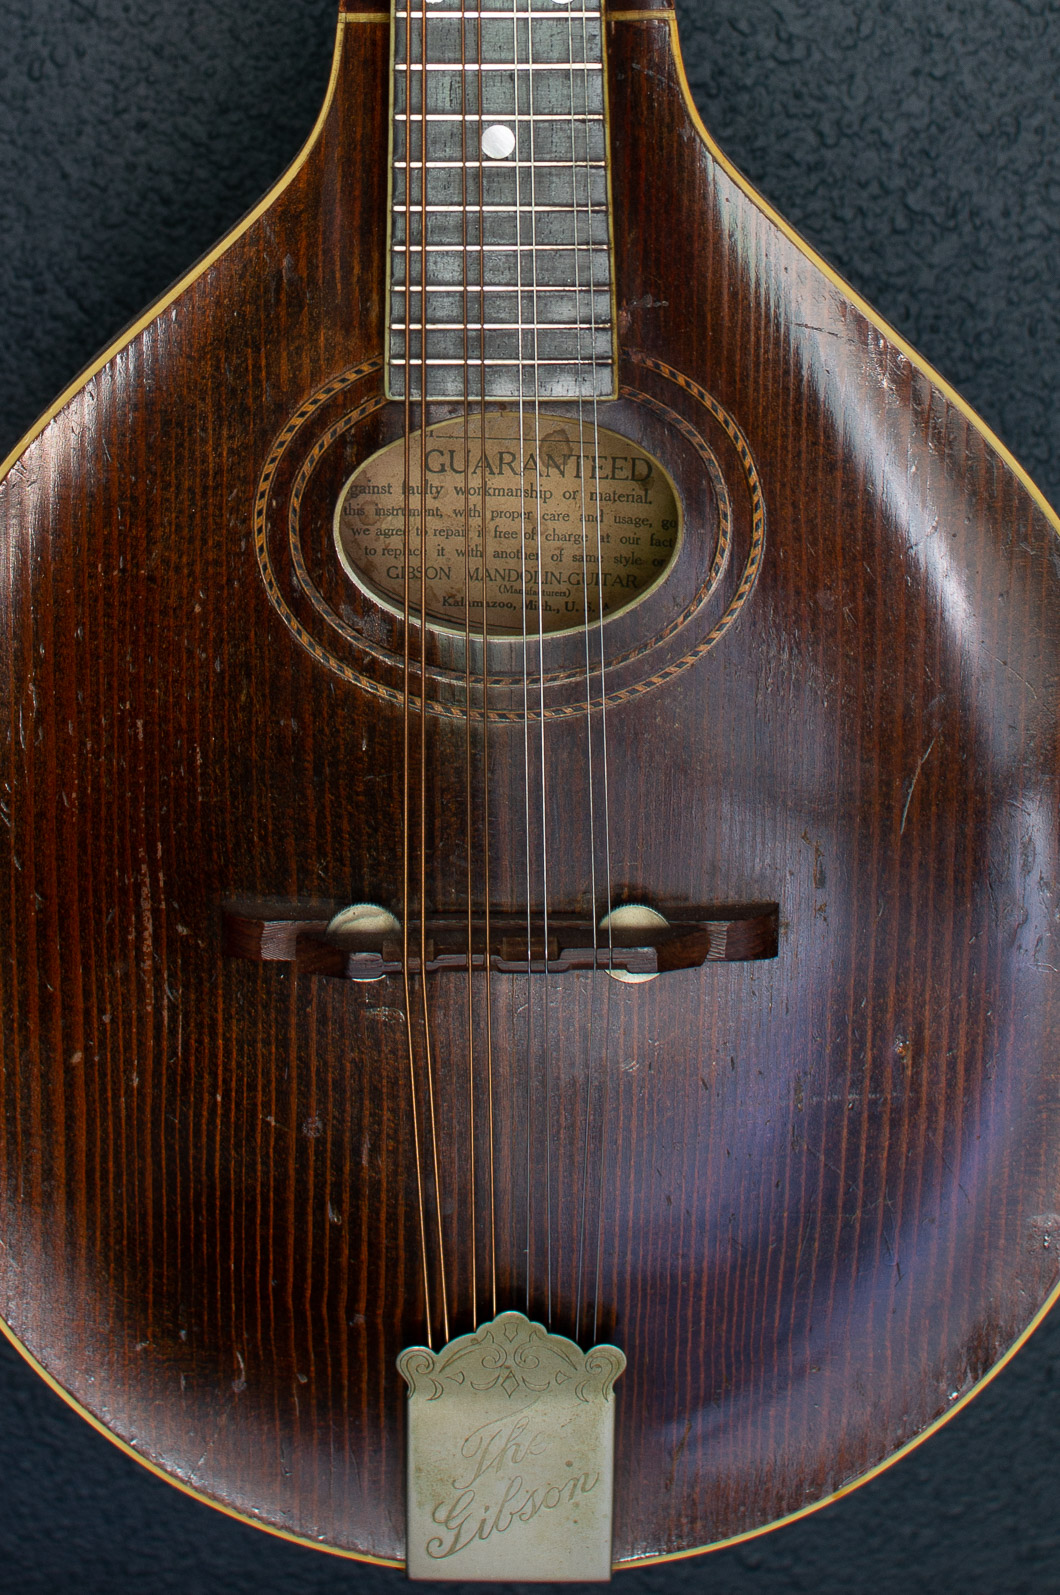
1920 Gibson A-Style Mandolin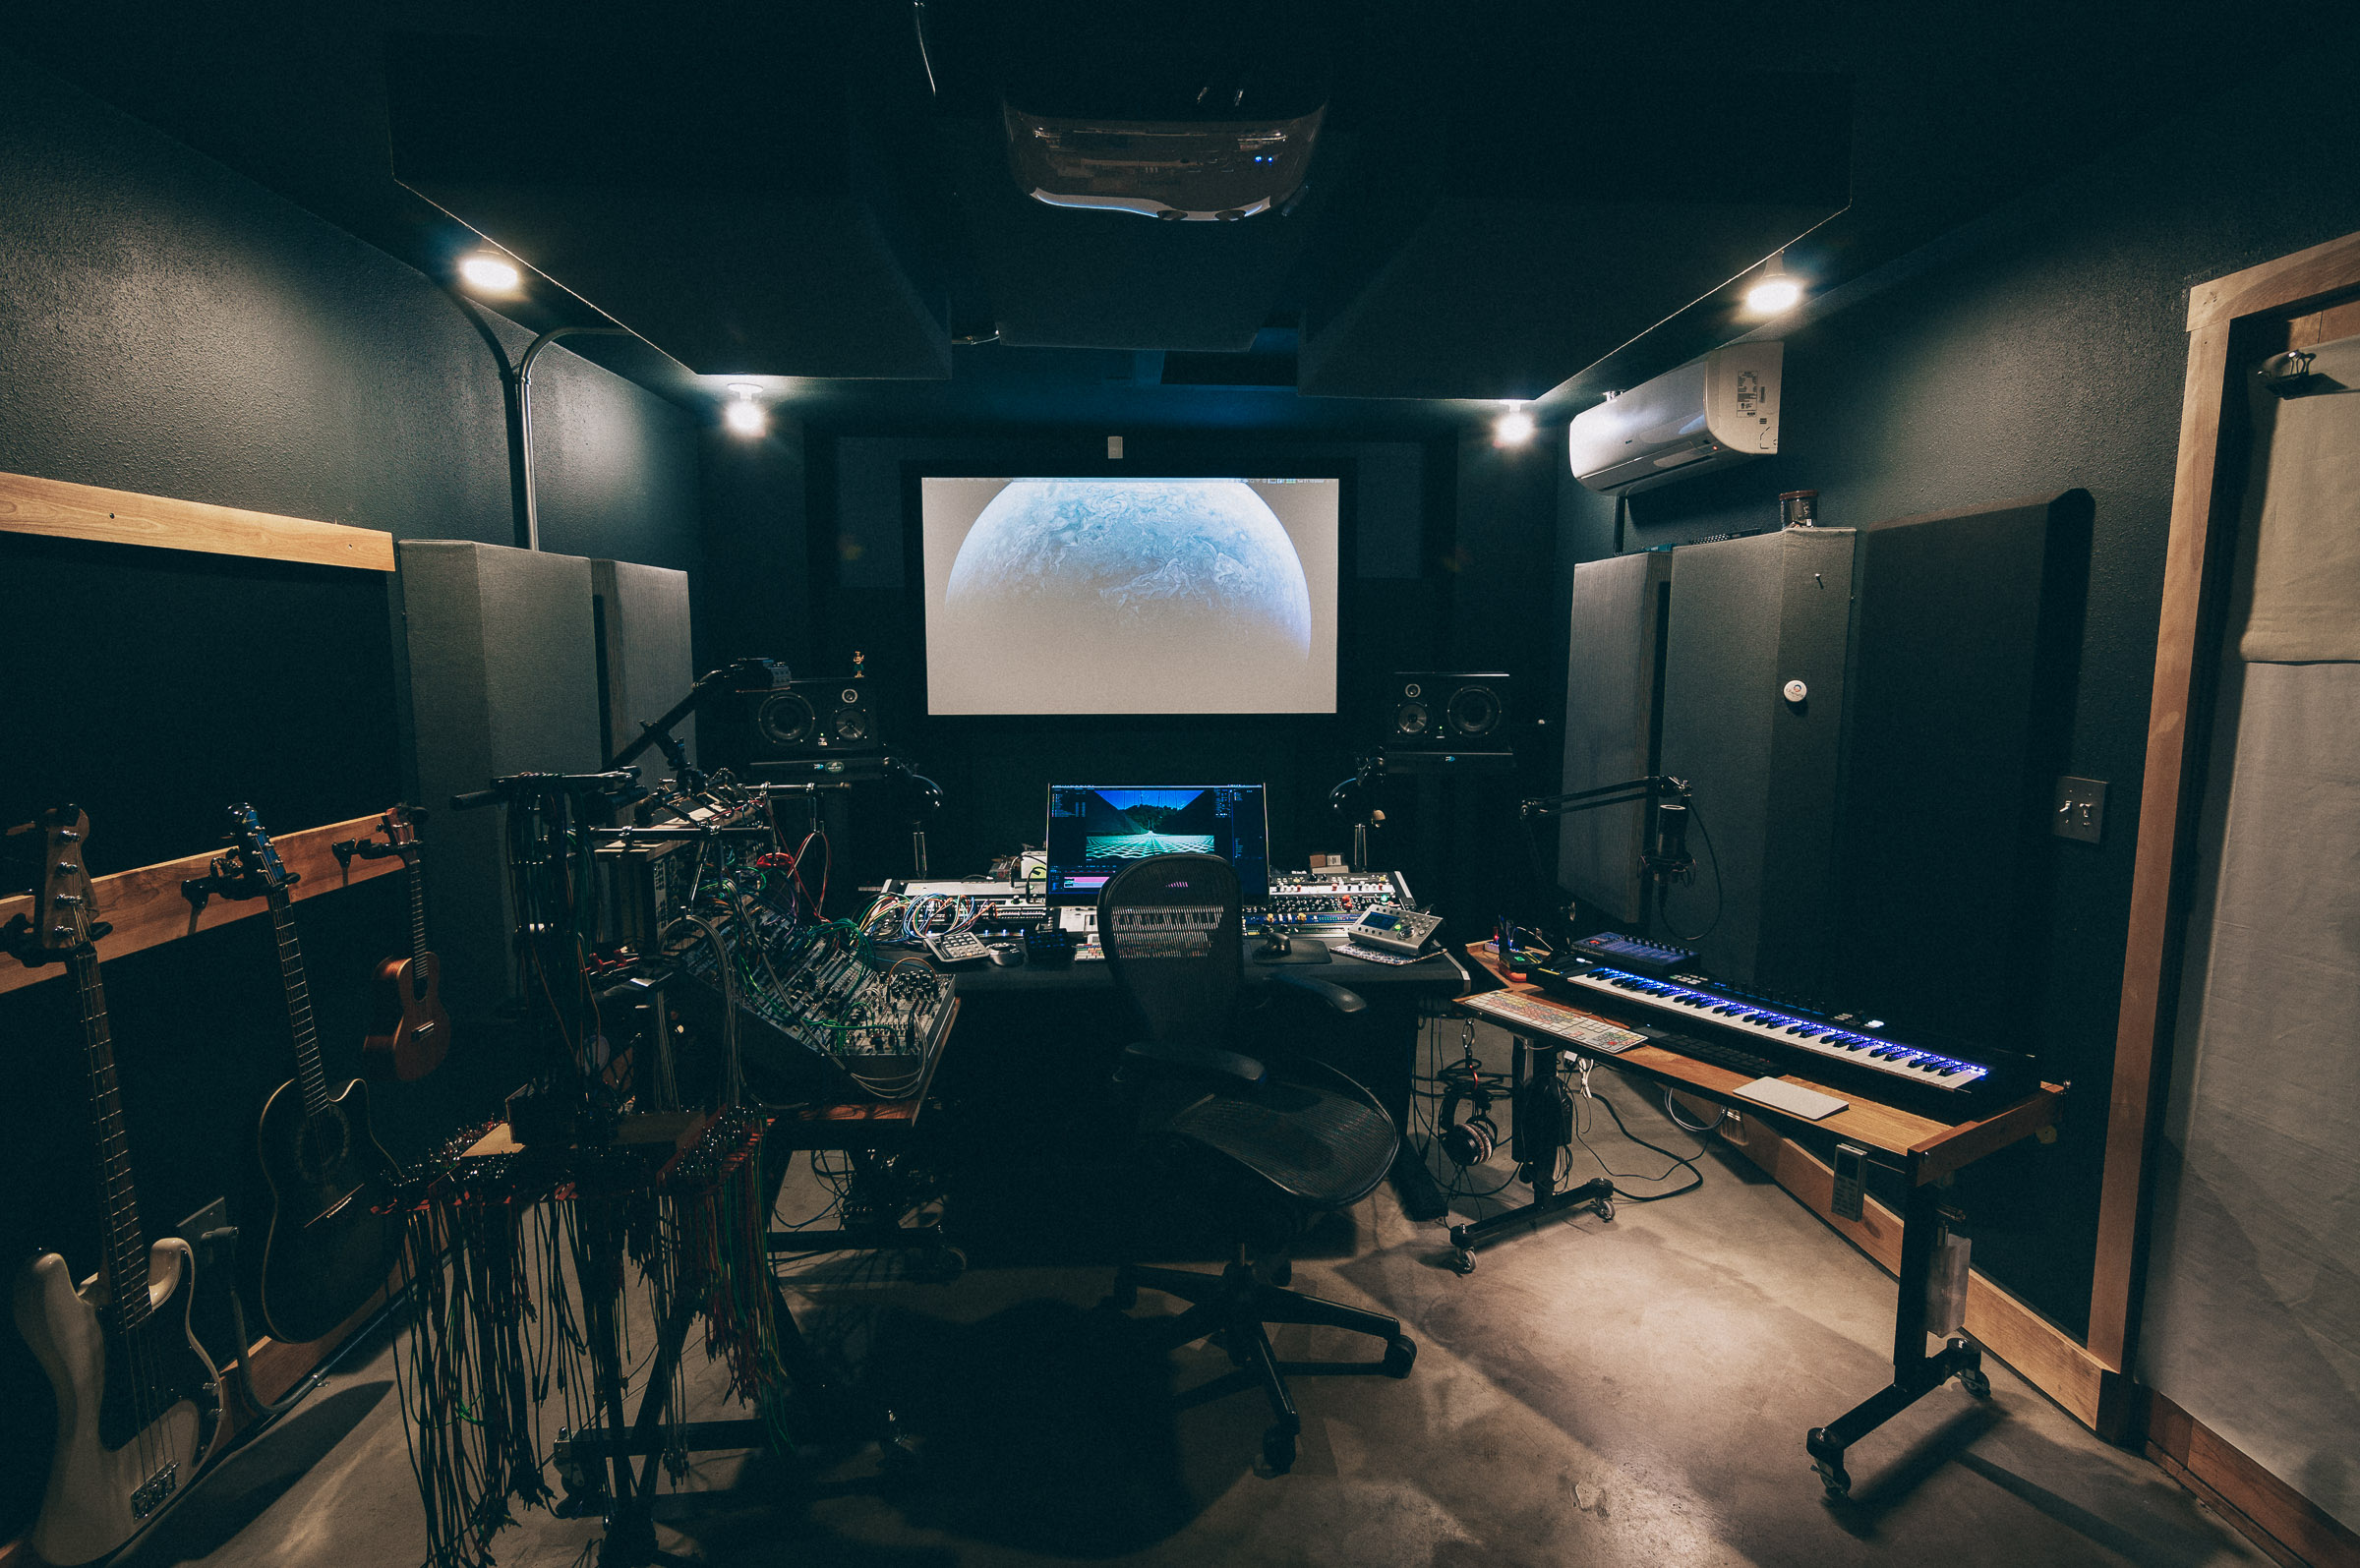
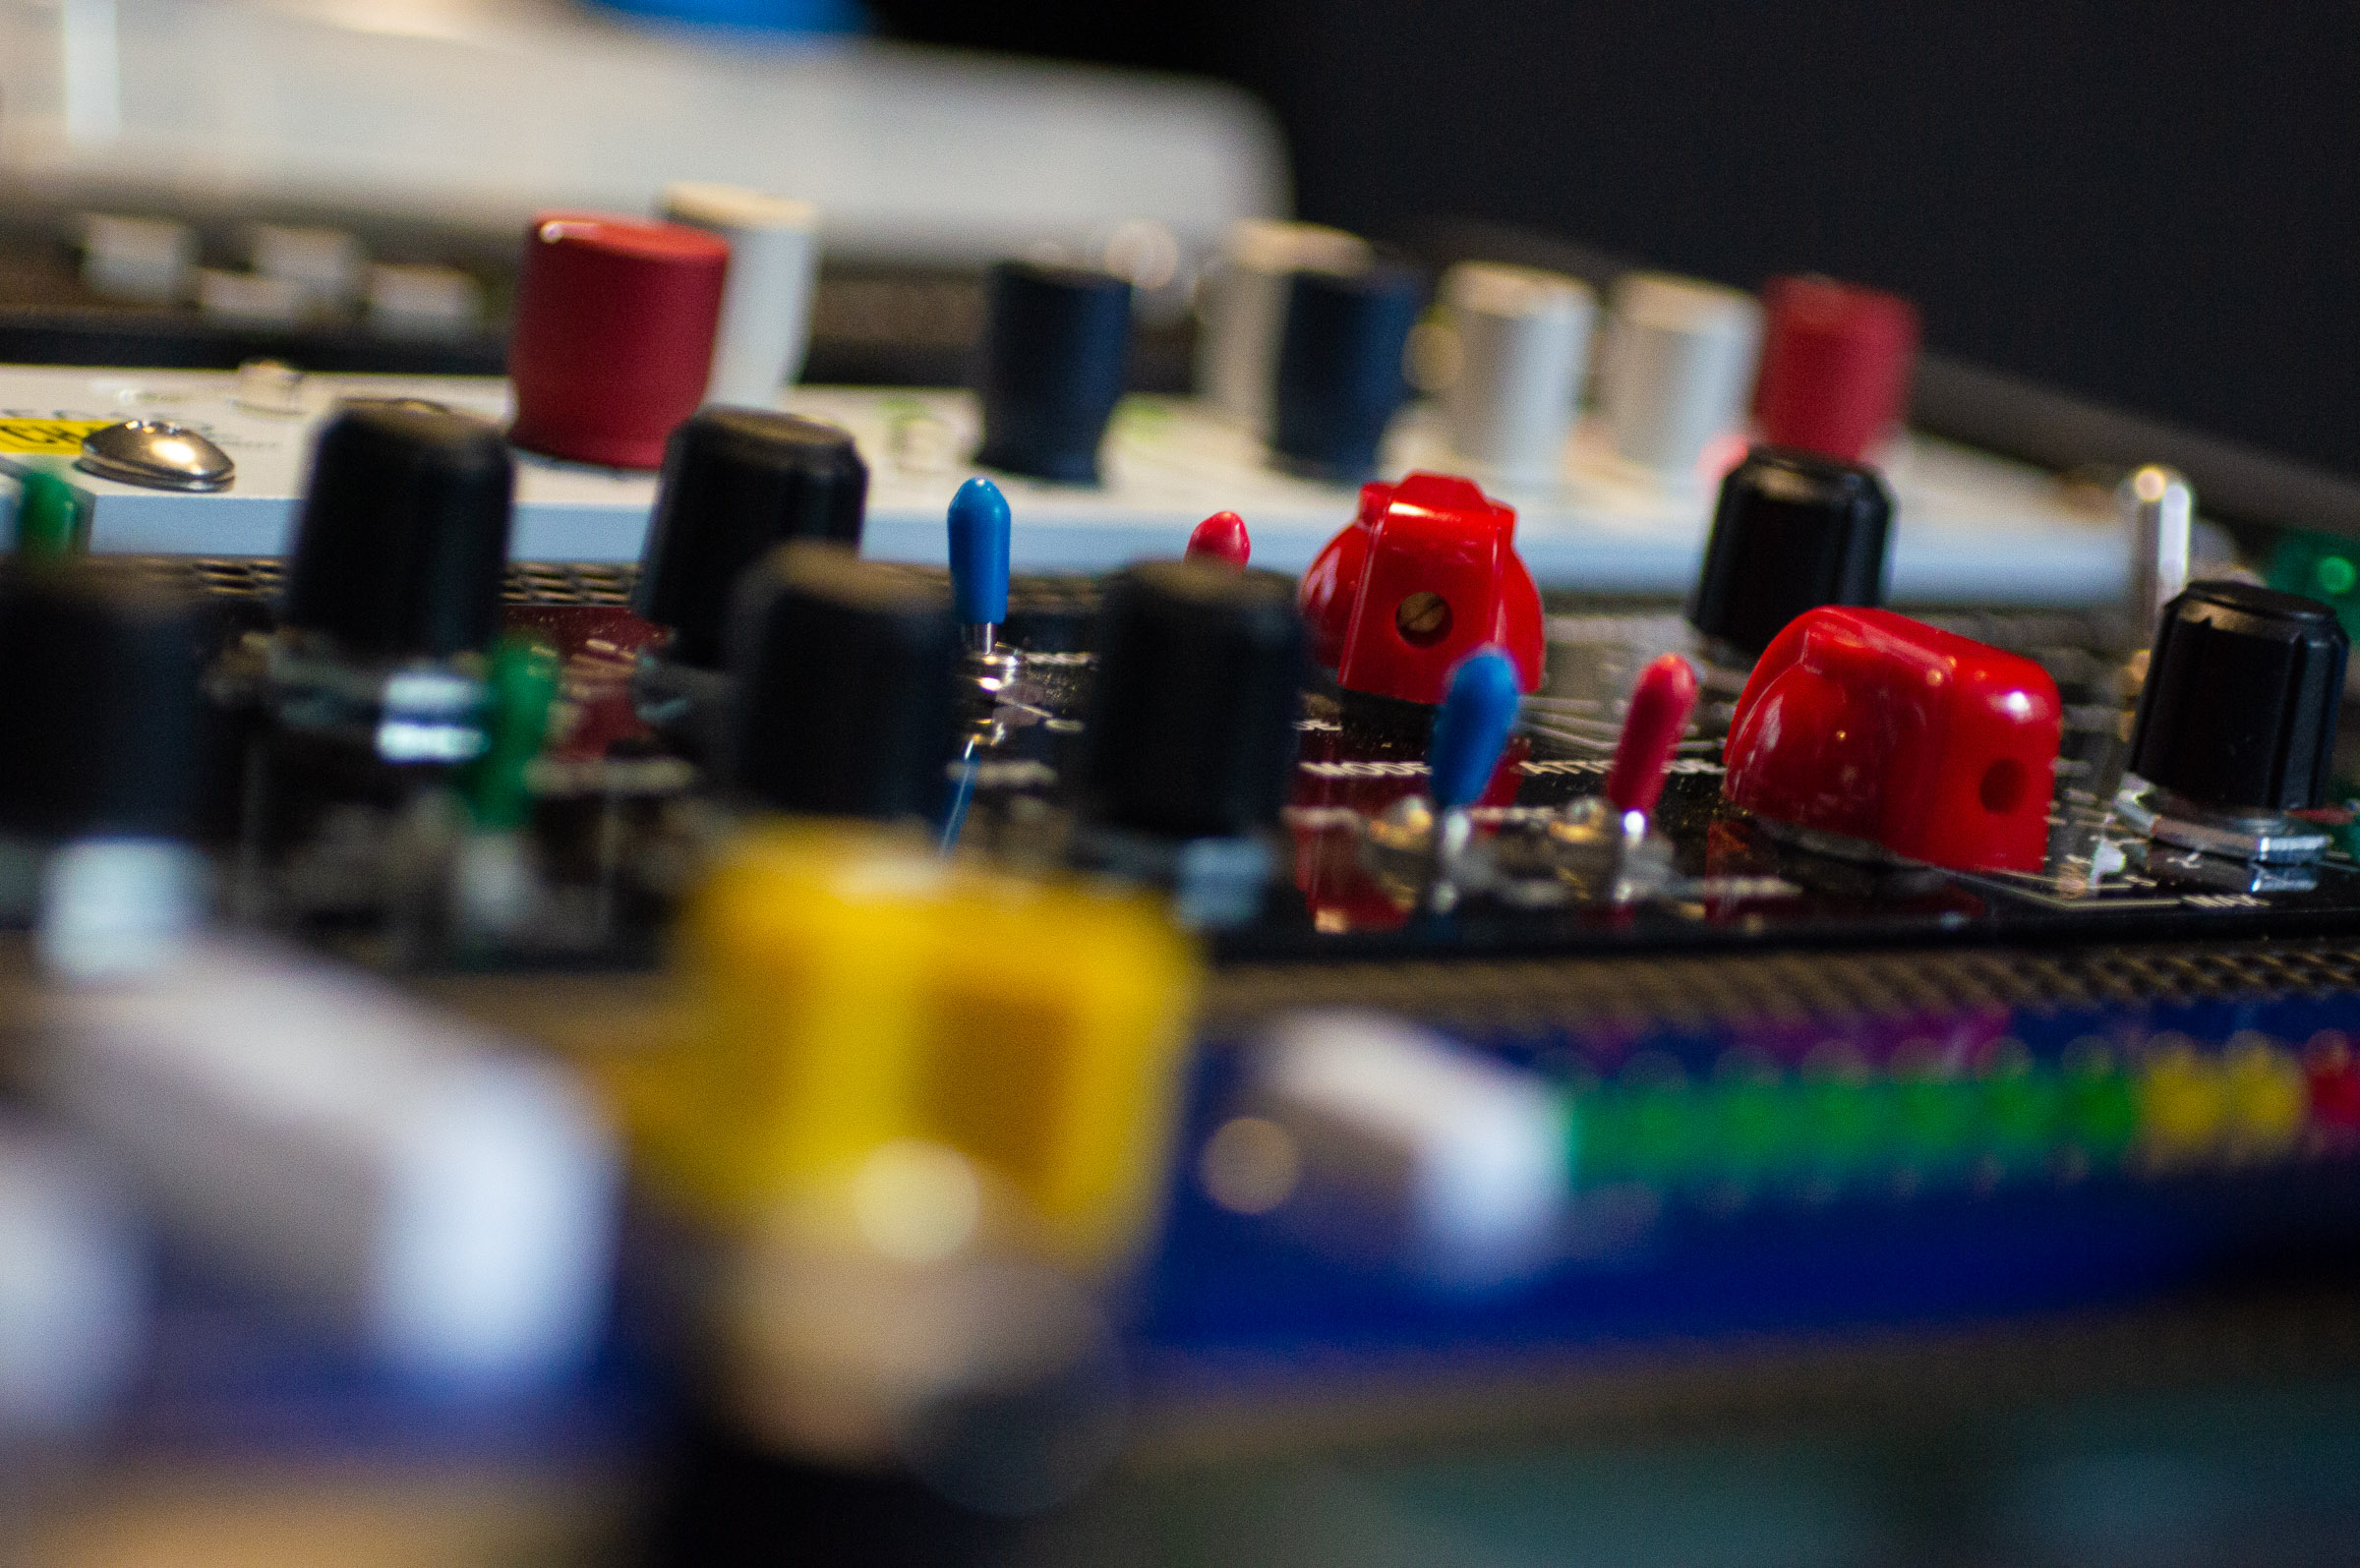

home away from home with fun tools and toys for ears and eyes
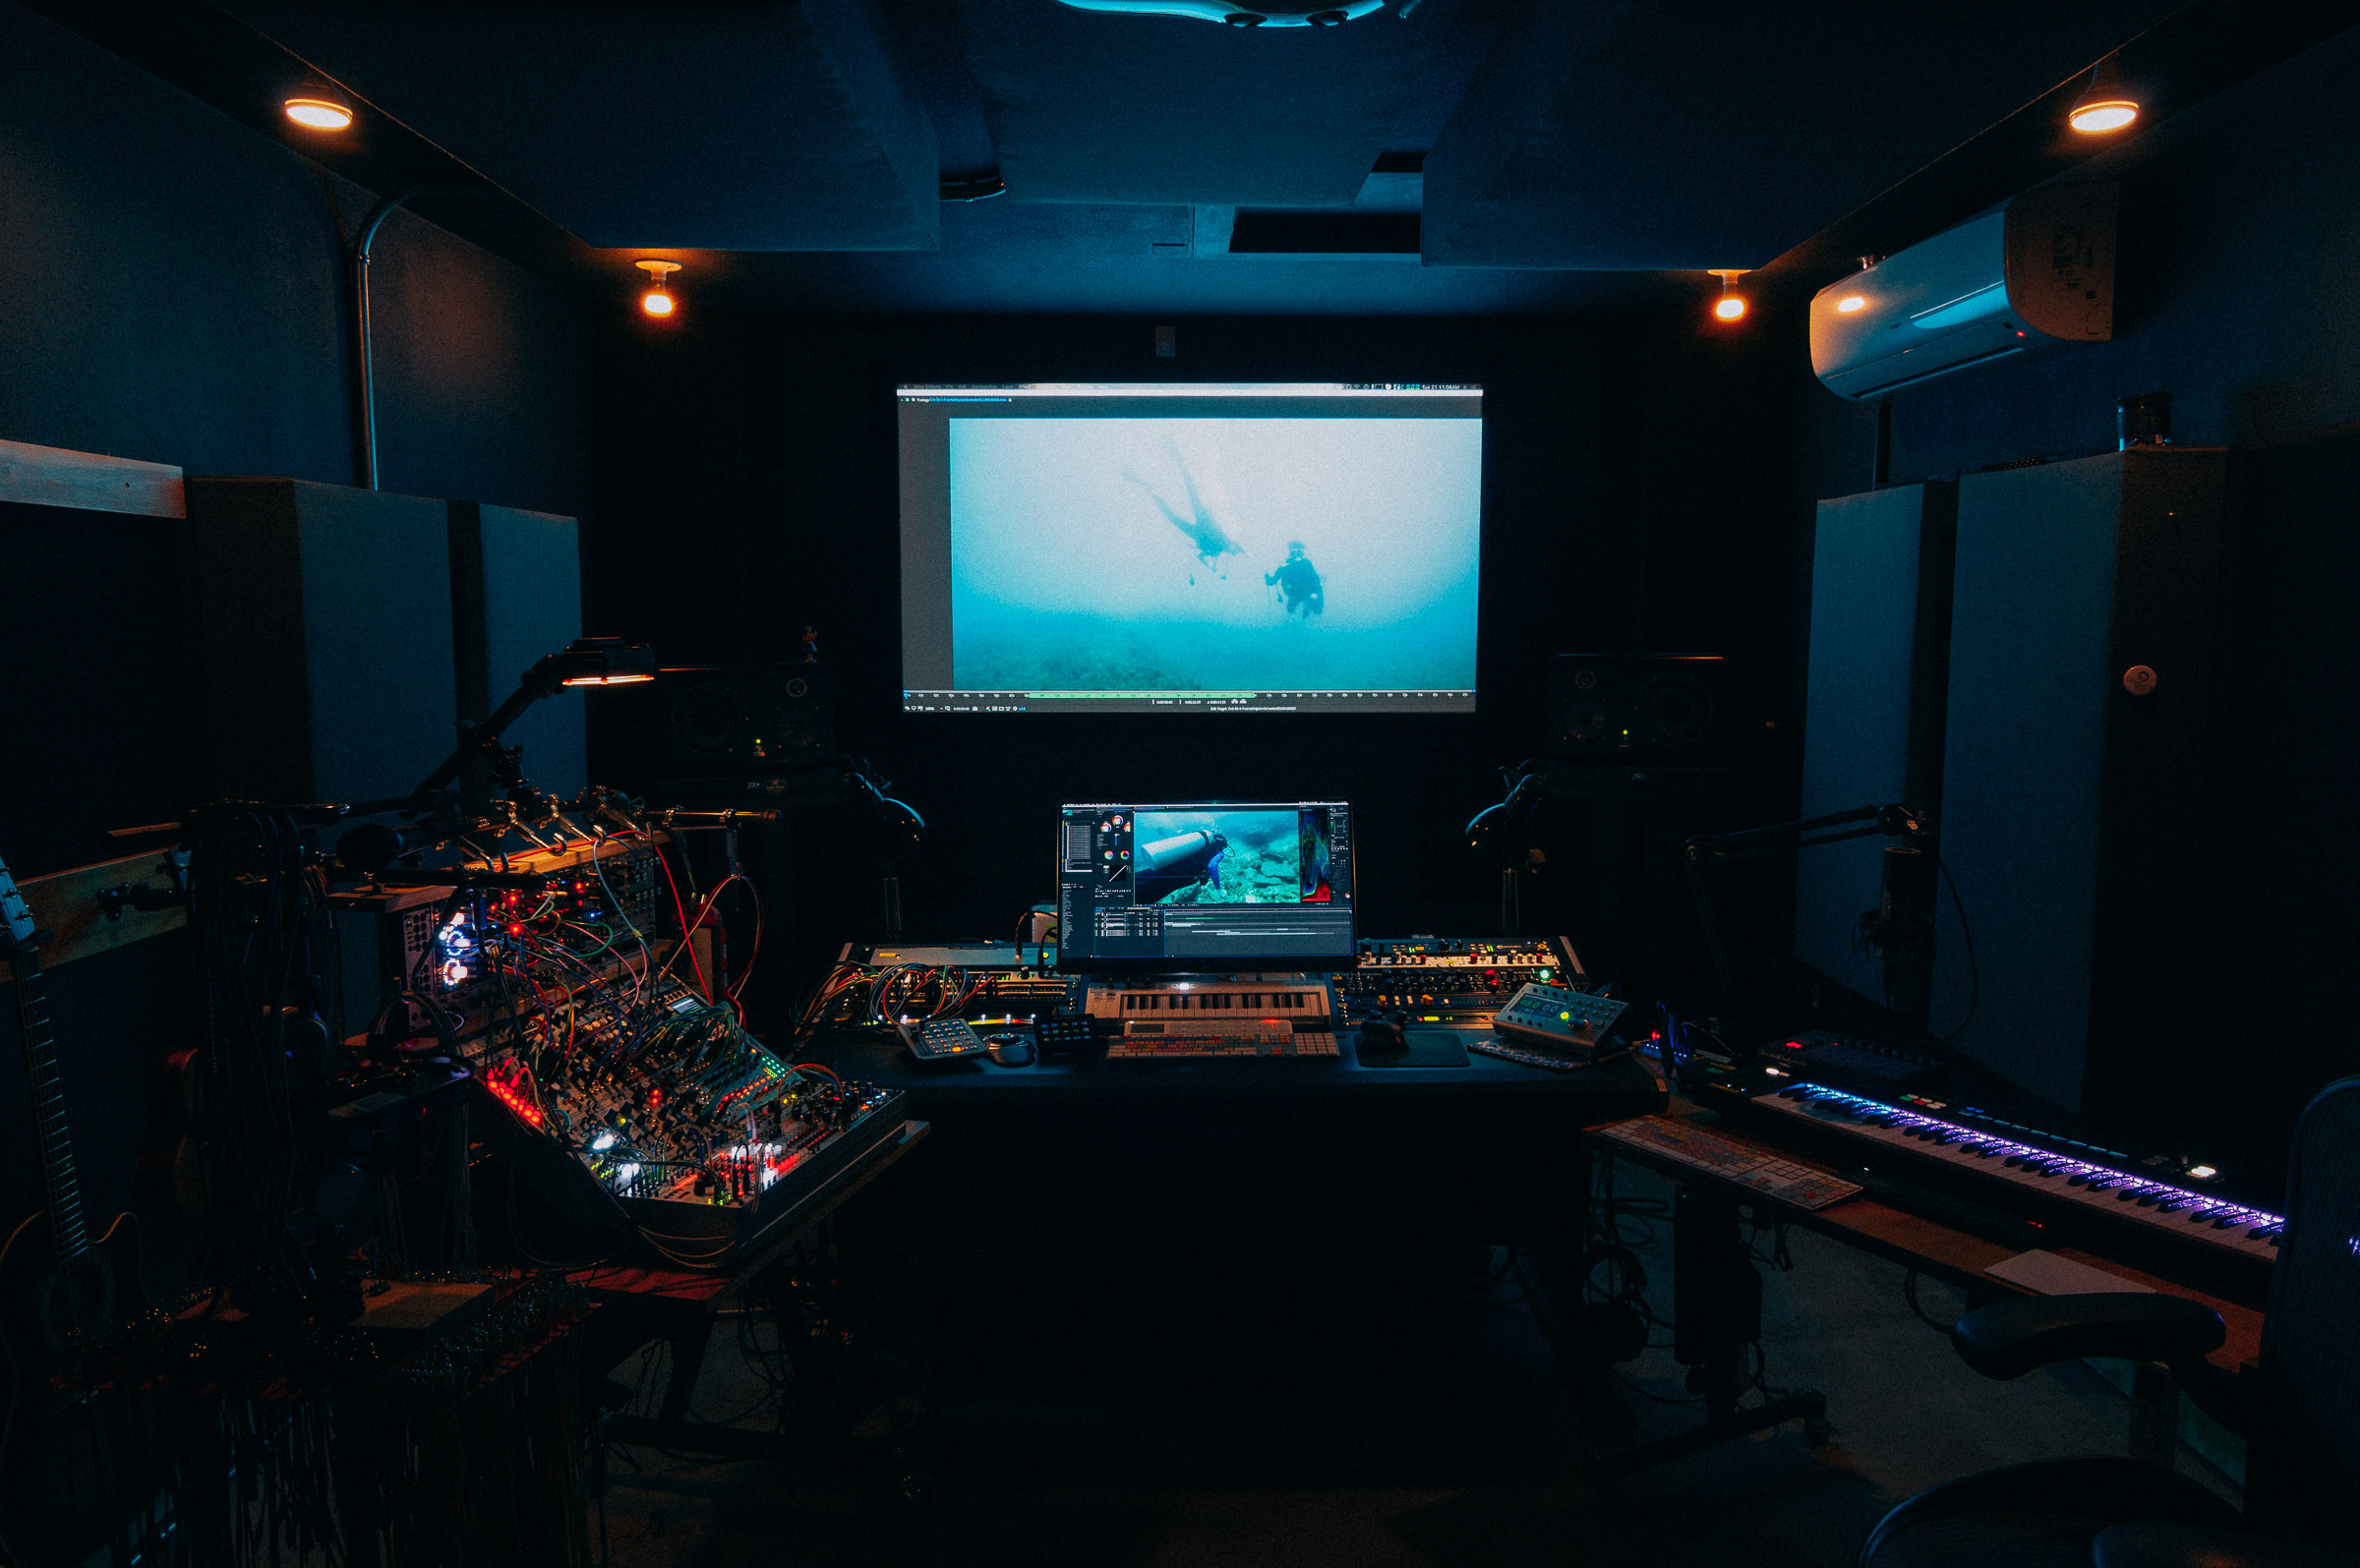
When we moved from Austin, TX to Chico, CA in 2014 we bought a wonderful historic home and it had this cool detached structure that appeared to have been used as a pottery studio (complete with a room for a kiln and pottery wheel). I quickly made the decision to convert this space into a dual puprpose studio space for music/audio and video. Over the last couple of decades I've been methodically acquiring studio and video gear and that collection got its new home.
Huzzah!
I began the planning phase and remodeling process in early 2015. I found Mark Fuller in Chico who turned out to be the right contractor for the job. Mark and I worked together extensively and the build was completed a few months later.
The not-so-obvious challenges when building a studio:
Sonic Permeability: There's probably a better term for this but since I'm not an acoustic engineer, "sonic permeability" works.
In addition to managing the how soundwaves interact within a room (acoustic treatment), one of the primary challenges of building a studio is controlling sound from both entering as well as leaving the structure. A common misconception when dealing with smaller project studios is that acoustic foam/treatment on walls will take care of "bothering" (or being botherd by) neighbors with unwanted sound. Though they can yield minor improvements in sonic permeability acoustic treaments manage how sound interacts with, and within, the space. .
Sonic permeability is law and order, where sound pressure level (SPL) is the yet-to-be-caught criminal and physics are the police. Thin walls lead to more sound getting in and out of a room whereas thicker walls are less submissive to high volume.
Controlling Sound: Per sage-like advice from an acoustics guru in California we chose to double the thickness of the internal walls by using two sheets of 5/8" drywall sandwiched together using an acoustical substrate called Green Glue. It's green, it's messy, and it's not the easiest substance to work with. This particular acoustical tempering approach helps dampen bass frequencies by providing a substance between the two sheets of drywall that allow them to move somewhat independently of each other by a few millimeters on X, Y, and Z axes. If this sounds confusing, think of Green Glue like the sticky silicon or rubber bumpers/pads commonly used on kitchen cabinet doors. Without those bumpers the doors close more aggresively producing noise. With the pads however installed, the doors behave when closing, particularly if they're closed with a bit of force. In this example the bumpers are the green glue, the cabinet door and facia are the two layers of drywal, and closing the cabinet doors is akin to the noise created inside a studio.
Electrical: Studios can gobble up electricity. Planning where outlets go and how much power is allocated to the space is a particularly challenging excercise for any studio. In the case of my studio, one of the chief wiring challenges was in dealing with the desk. The majority of the electrical supply required goes to the desk. The desk is about half the width of the room and requires two 120v breakers. Wall outlets were not the right choice, and because we were working with a preexisting cement floor, we had to get creative; simply having a couple of plugs on a wall with a heap of wires running on the floor won't cut it. Combined with the speakers, rack equipment, air-conditioner, computers, monitors, hard drives, synthesizer, and all the other stuff, the studio can be power hungry when creativity is flowing.
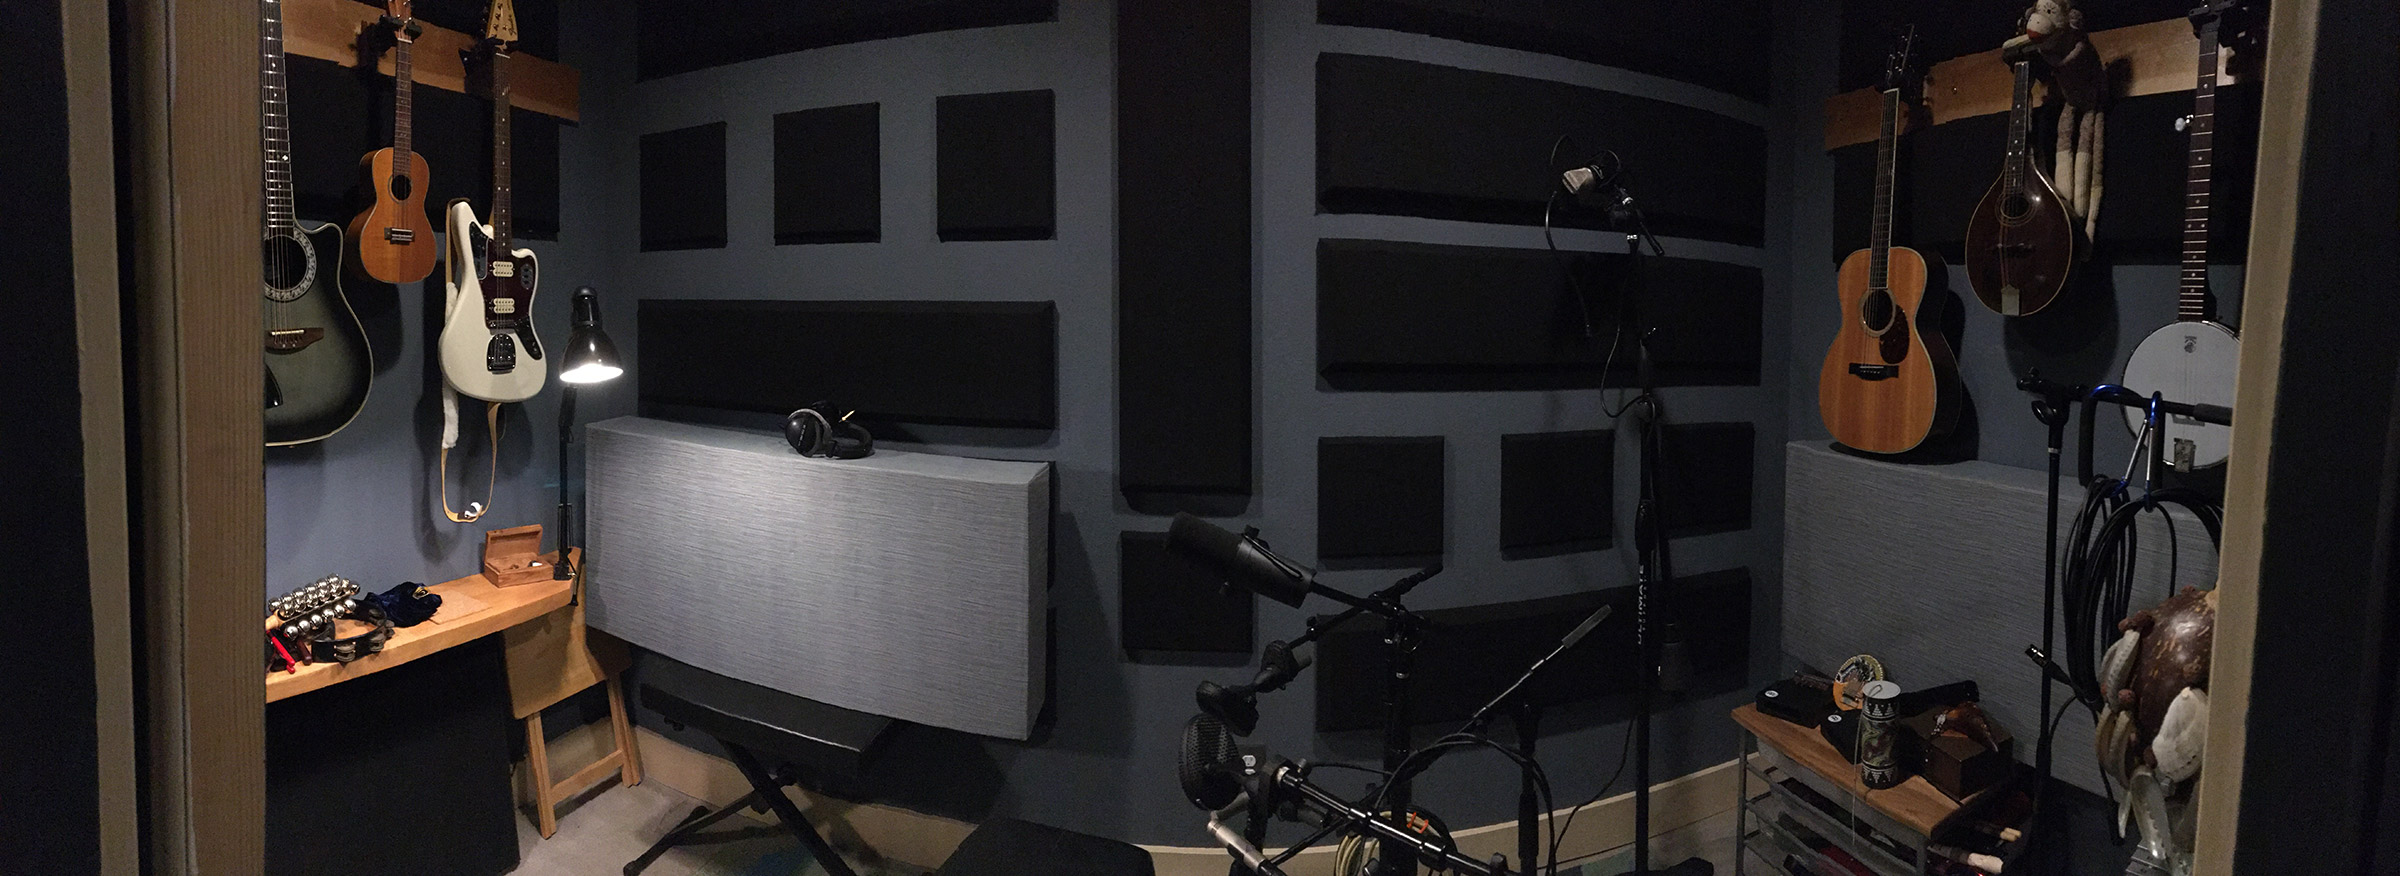
Acoustic Treatment: When the wiring was all wrapped up I spent several weeks dialing in the acoustics - I knew it would take a while but... It's especially critical to pay attention to acoustics in tighter spaces as low frequencies can get unruly. Wild bass frequencies makes mixing and music composition extraordinarily challenging, particularly when trying to make sure a mix/song/recording sounds good outside of the studio environment.
As soon as the acoustics were relatively dialed in it was time to wire up all the gear.
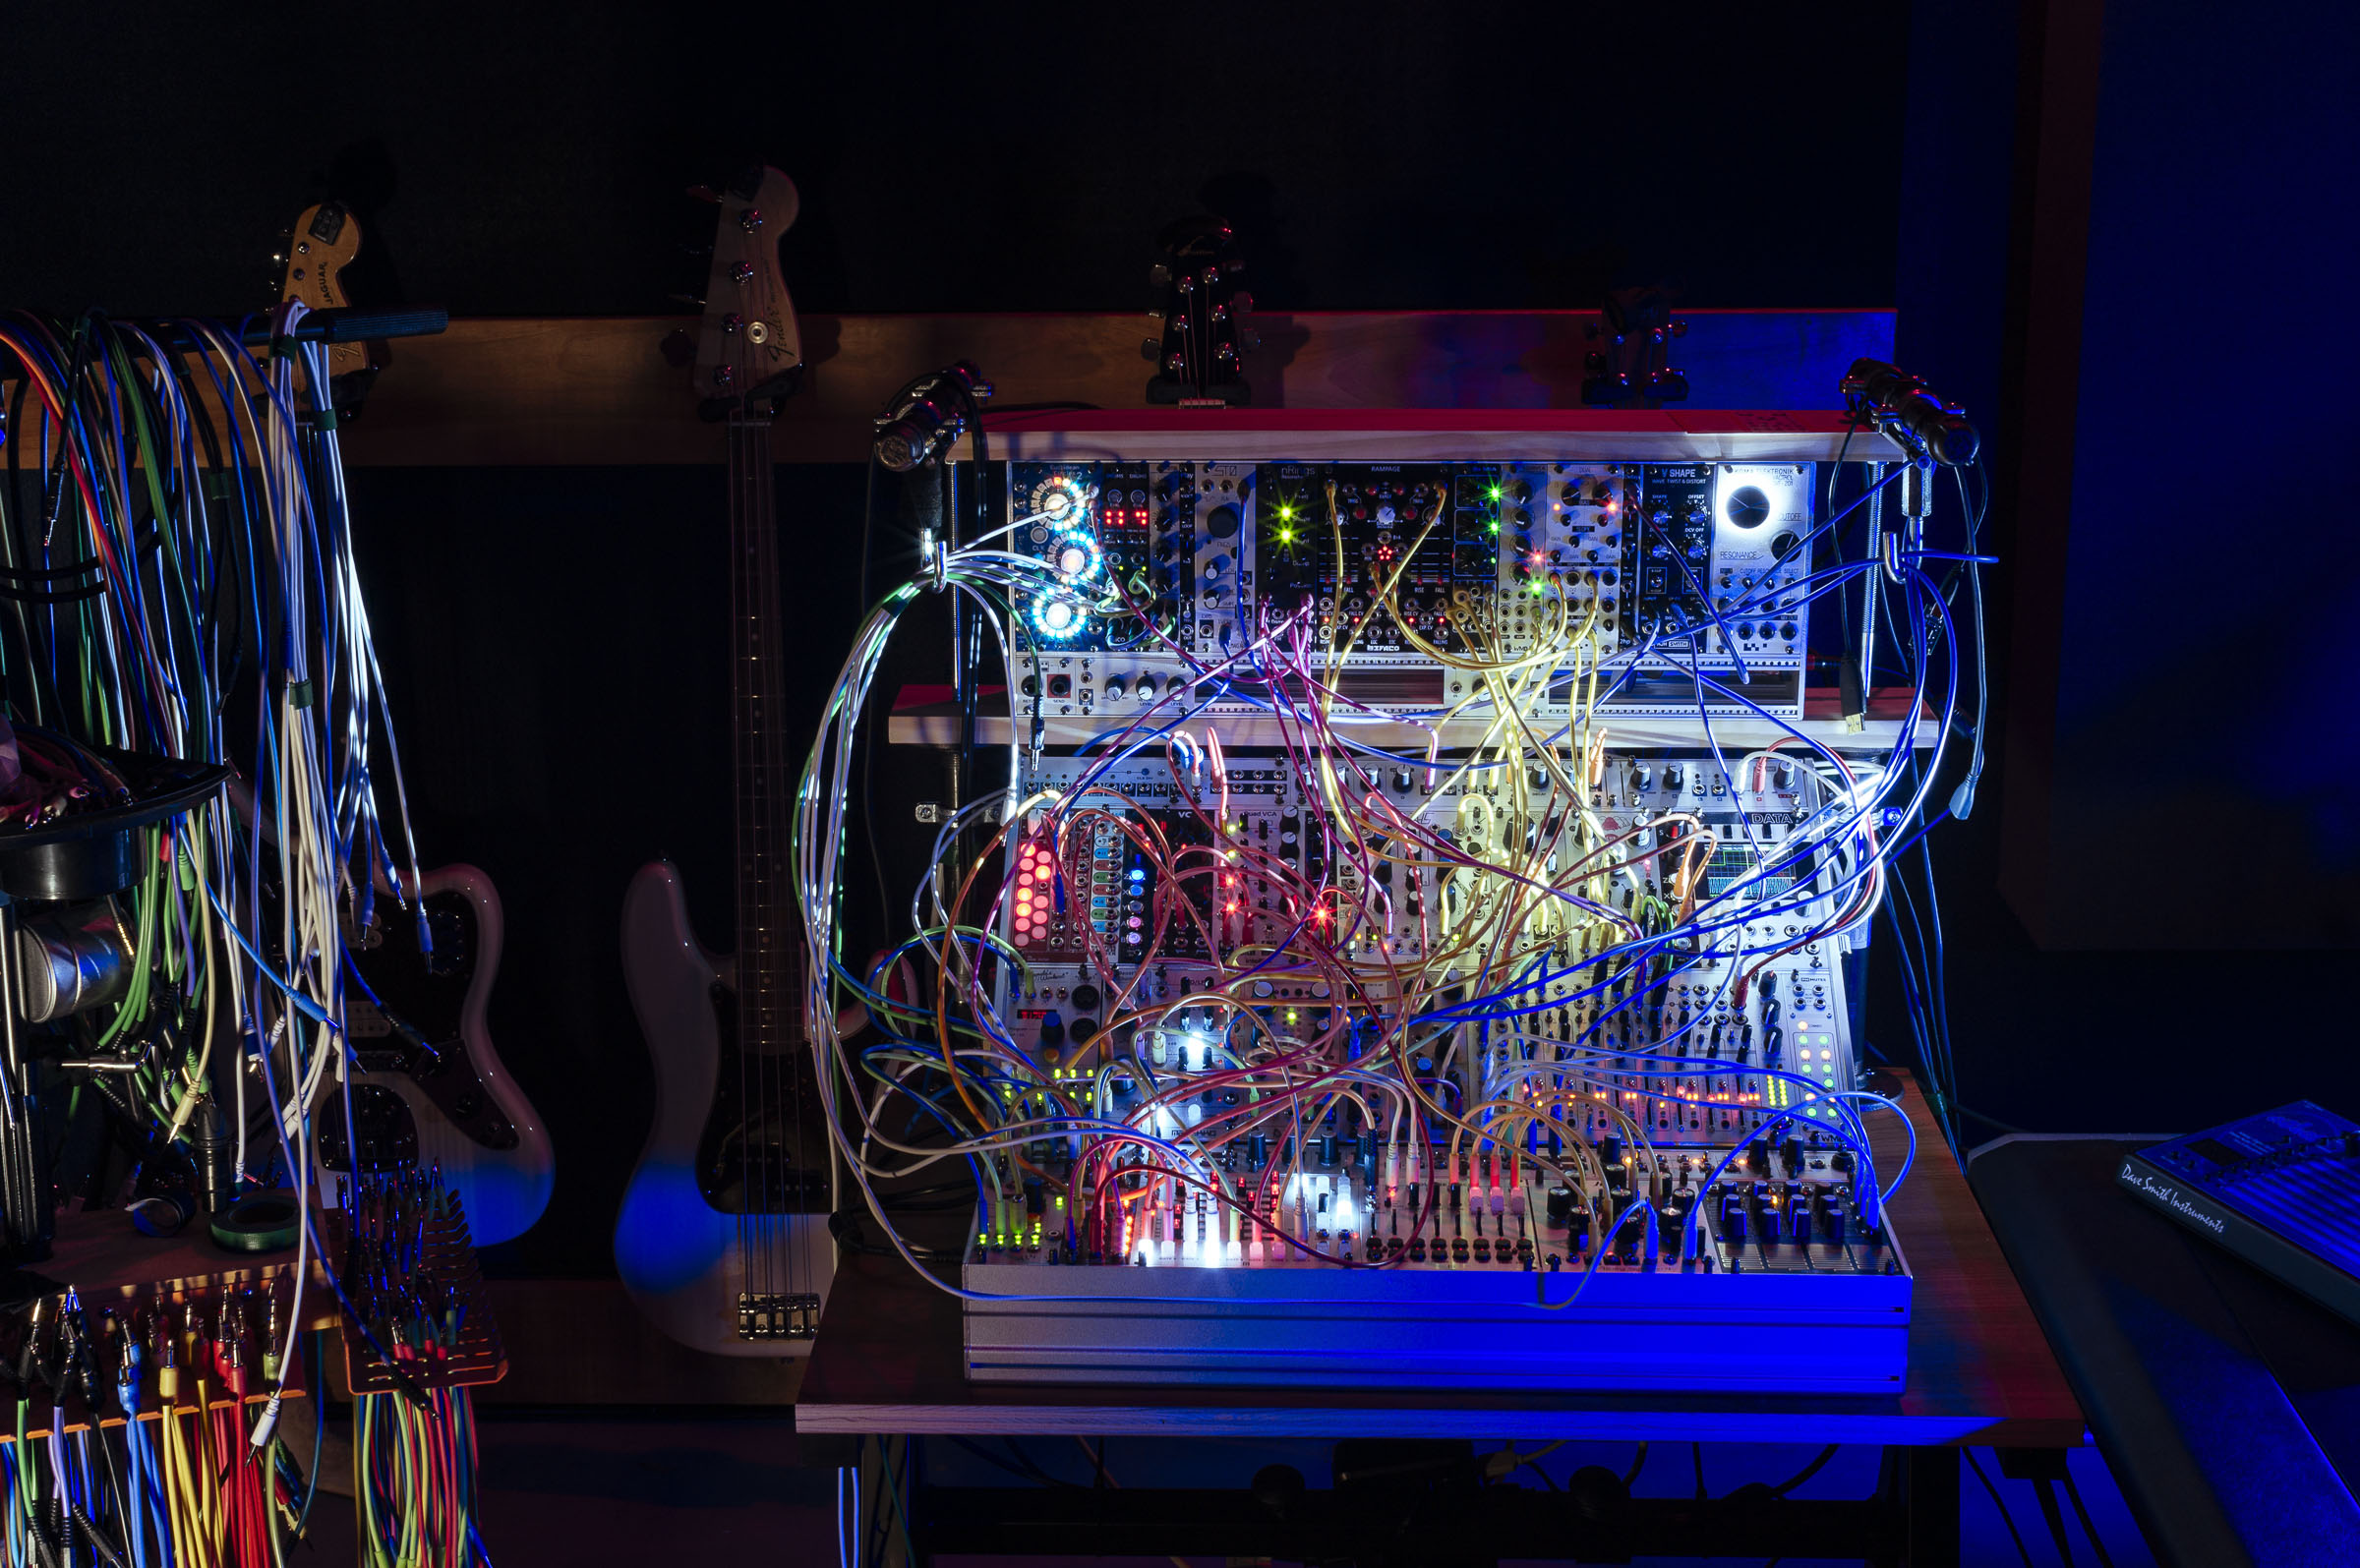
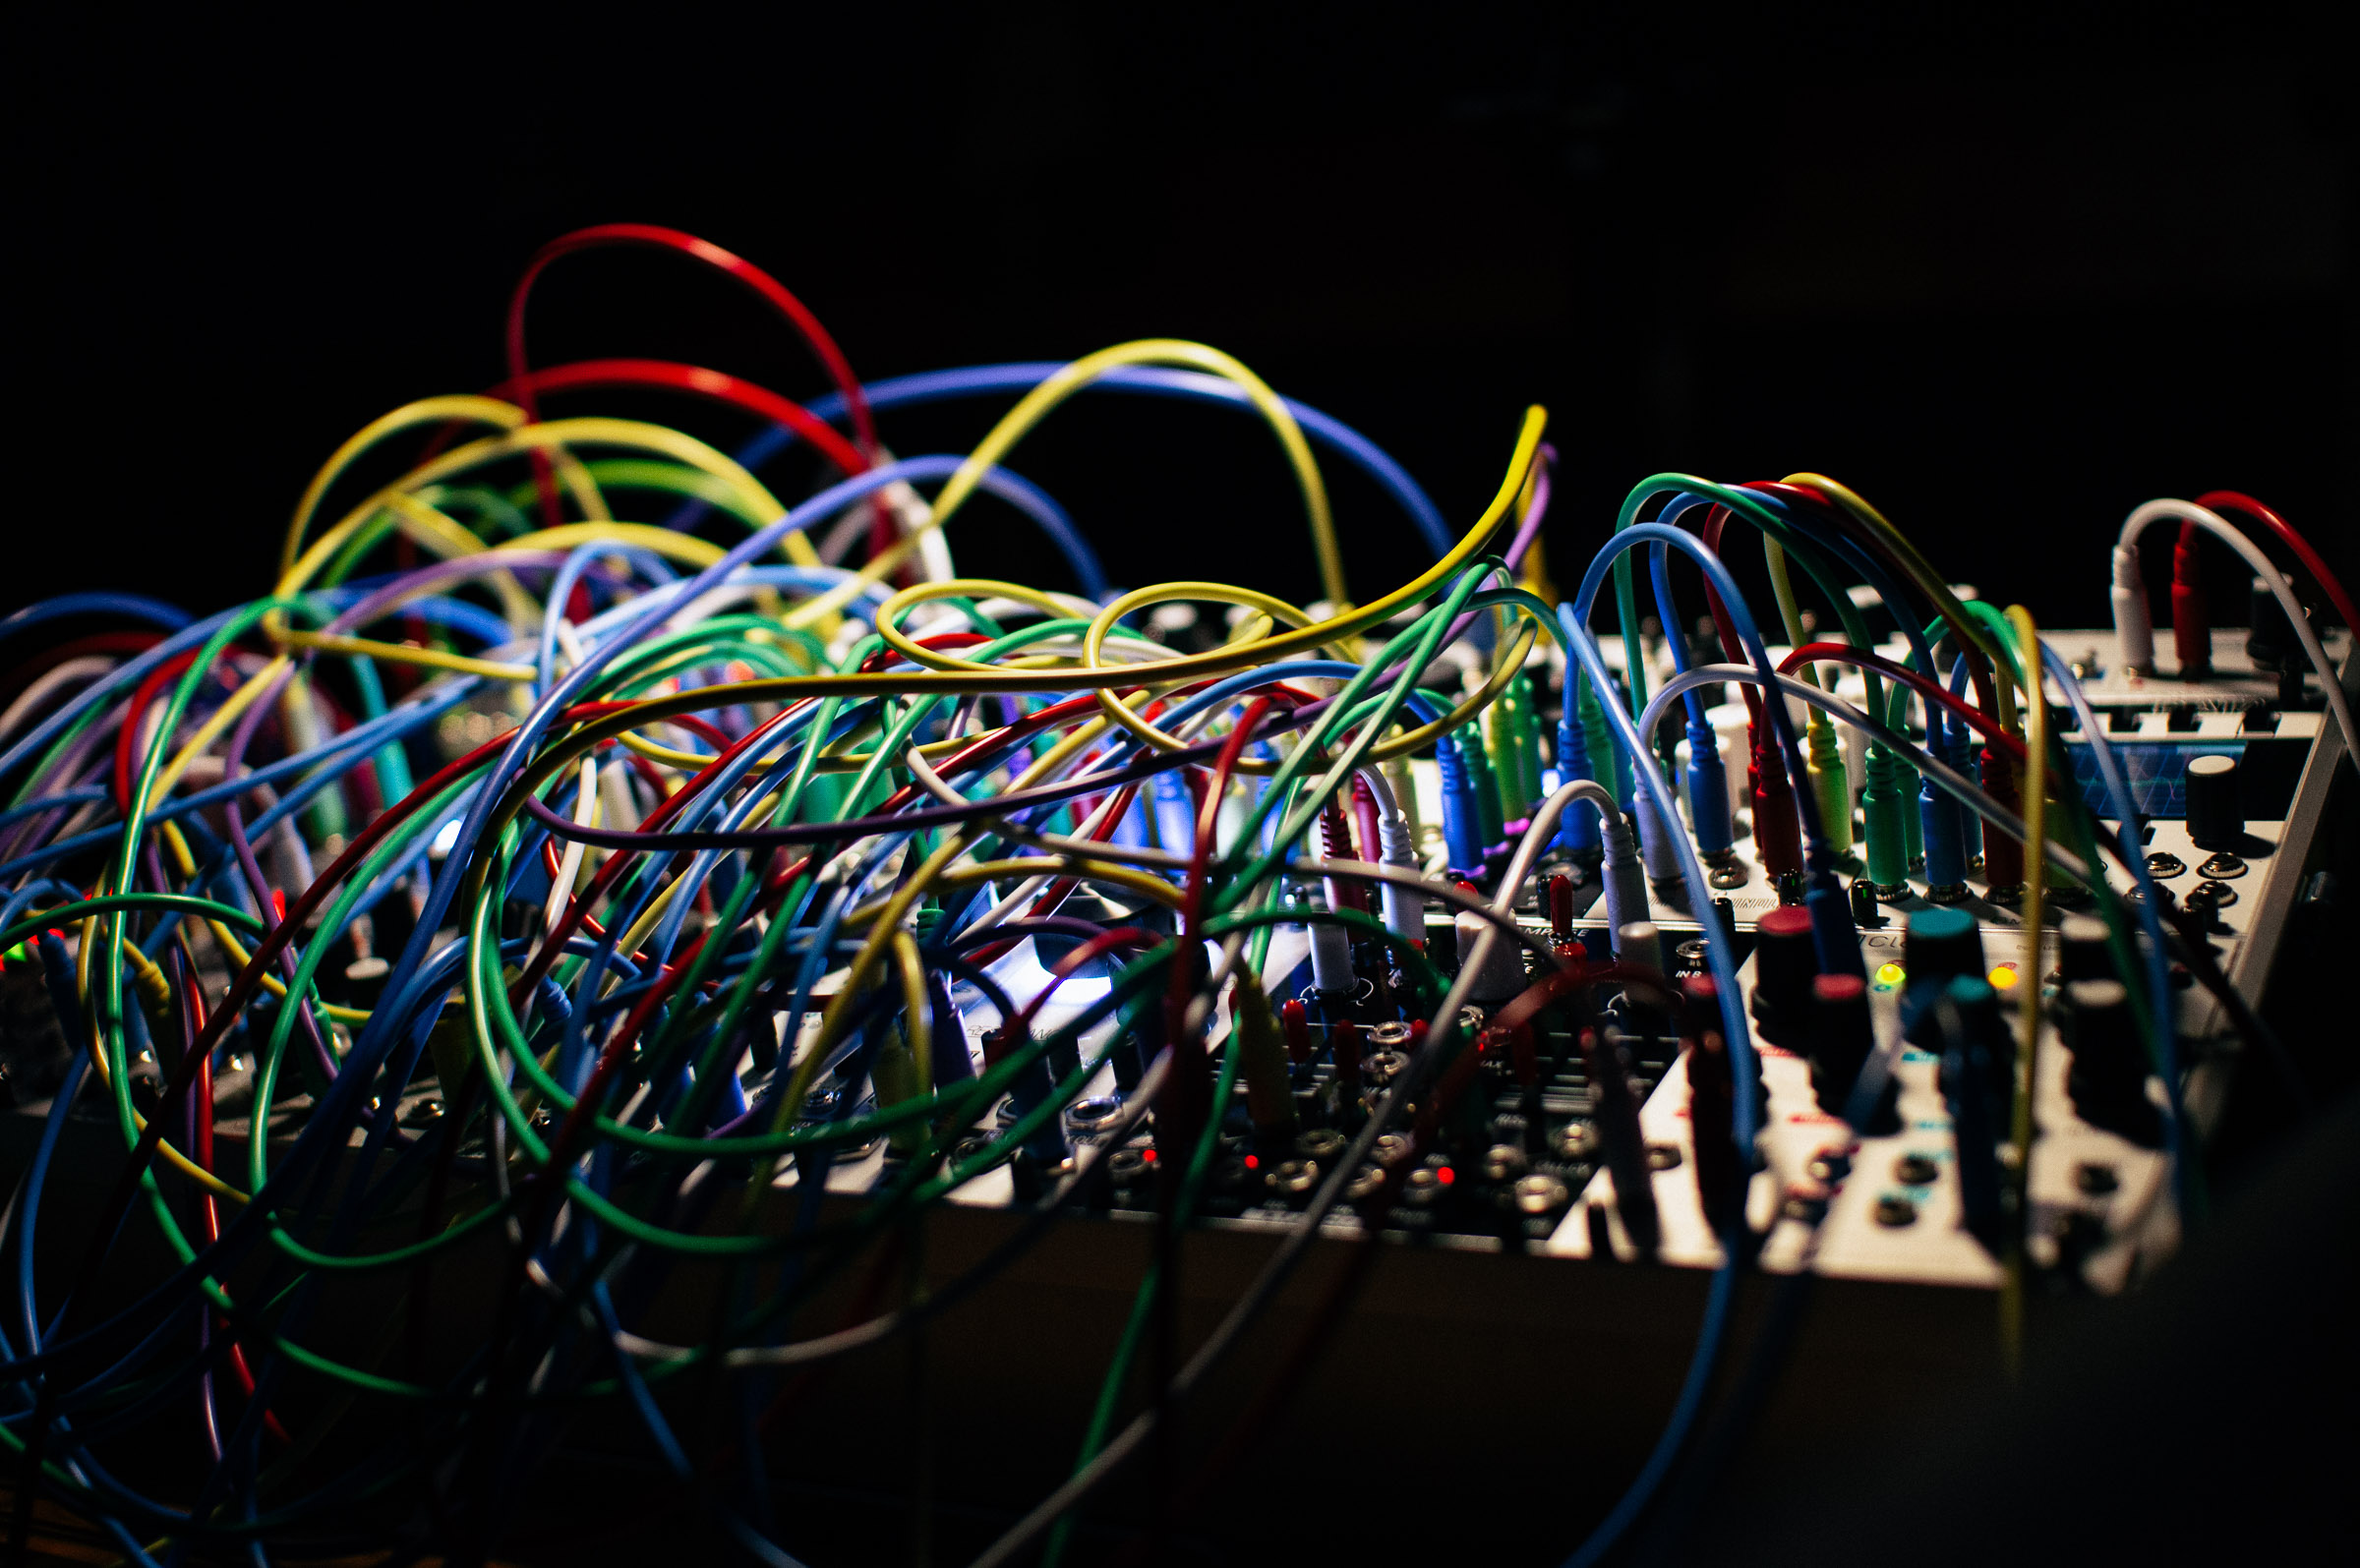
Gear Wiring: Ugh. It requires a lot of time to connect every piece of gear and the computers and battery backups and hard drives and all... Keeping the wiring free of spaghettification is crucial to maintaining sanity when moving or adding equipment to the system. All in, the studio has about two miles of wire just connecting equipment.
Yeah. It's a lot of copper.
Okay, enough yapping, it's time to play.